Dashboard Guide
Create projects, manage collections and items, and generate API keys from the Mini CMS dashboard.
The dashboard is the easiest way to manage content if you are not working from code. If your instance is deployed, you can open the dashboard from the link in the top navigation bar.
What You Can Do Here
- create workspaces for each team or organization
- create projects for each client site or content area
- create collections for each content type inside a project
- upload and manage reusable project assets
- define the fields each item should have
- add and edit content with a generated form
- create API keys for developers and automation
- manage team members through invite links
Workspace Overview
When you sign in, the dashboard shows your workspace:
- Name: Your organization or team name
- Slug: URL-friendly identifier used in API requests
- ID: Unique identifier for API integration
The workspace ID (w) is used in the public content API and schema API requests.
Create A Project
- Sign in to the dashboard.
- Open
Collections. - Choose
New project. - Enter a name and slug.
- Create the project.
Projects group related collections inside a workspace. Each project has its own:
- Collections and items
- Schema definitions
- API key scope (optional)
You can switch between projects using the dropdown selector in the Collections view.
Create A Collection
- Sign in to the dashboard.
- Open
Collections. - Select the project the collection should belong to.
- Click
New collection. - Enter a name, slug, and optional description.
- Create the collection.

After creation, the collection appears in the list with its item count.

Collection Actions
Each collection in the list has an actions menu (...) with:
- Open: View and manage collection items
- Edit: Modify collection name, slug, or description
- Delete: Remove the collection and all its items
Deleting a collection is permanent. All items in that collection will be lost.
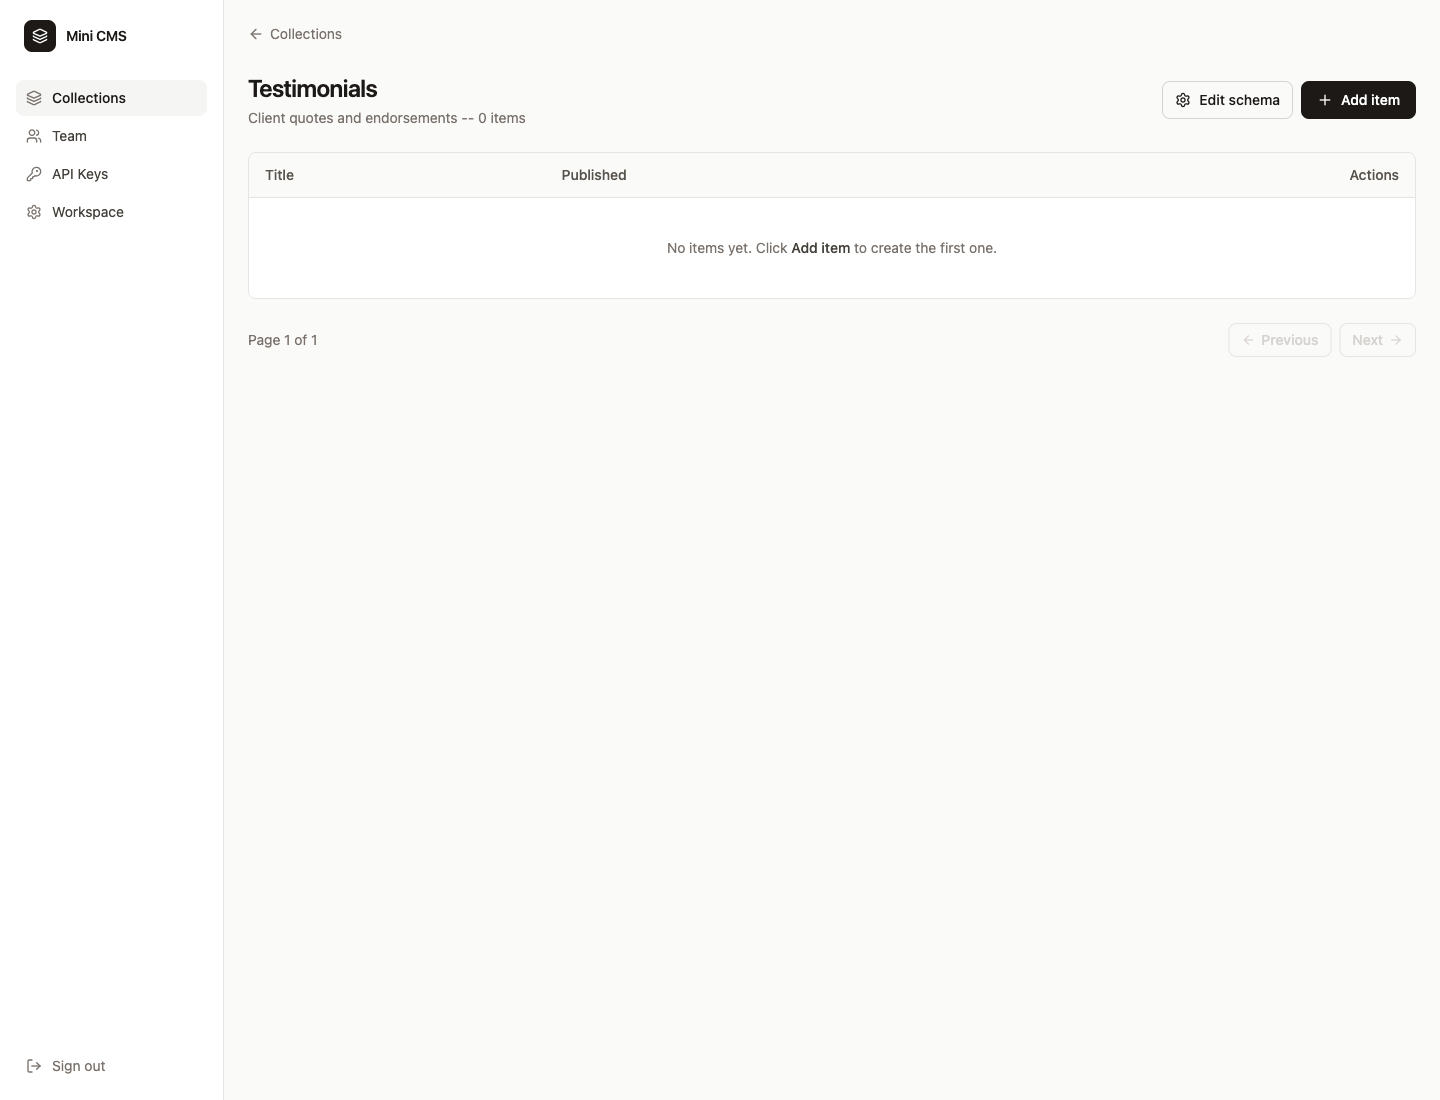
Open A Collection
- From
Collections, clickOpenon the collection you want. - Review the schema columns and current items.
Empty collection example:
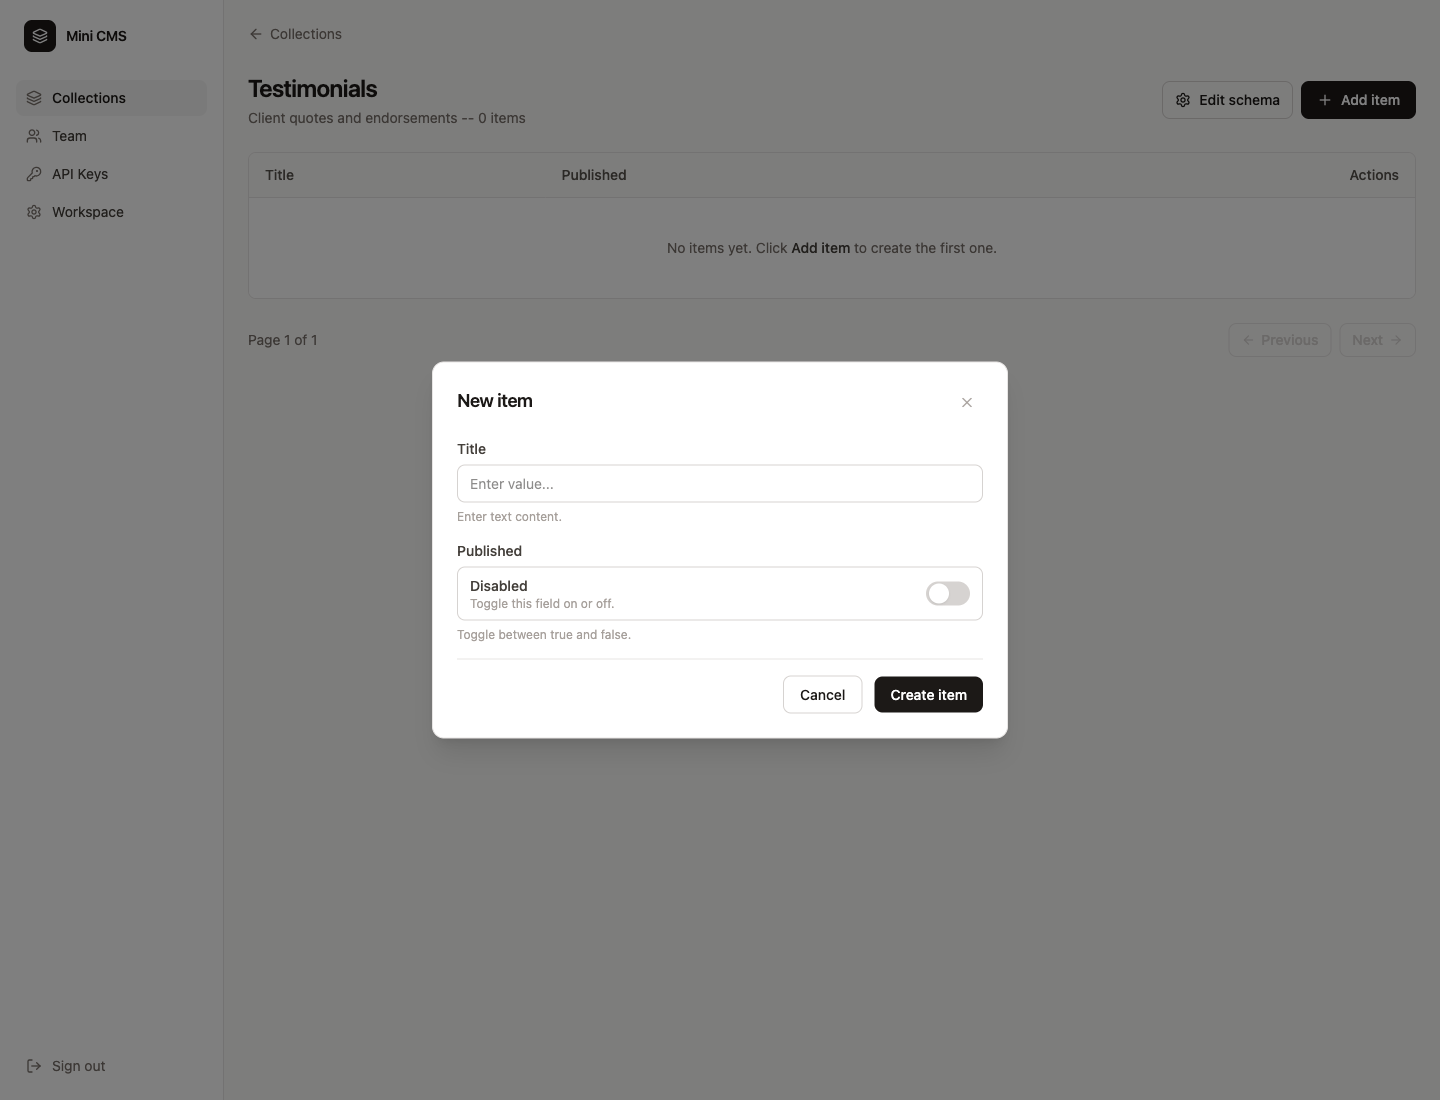
Create An Item
- Open the collection.
- Click
Add item. - Fill the form generated from the collection schema.
- Save the item.
Mini CMS supports text, url, number, boolean, and date fields.
Every item also includes two built-in system fields:
_id: generated automatically and shown in the items table_published: controlled in the item editor and used by the public API
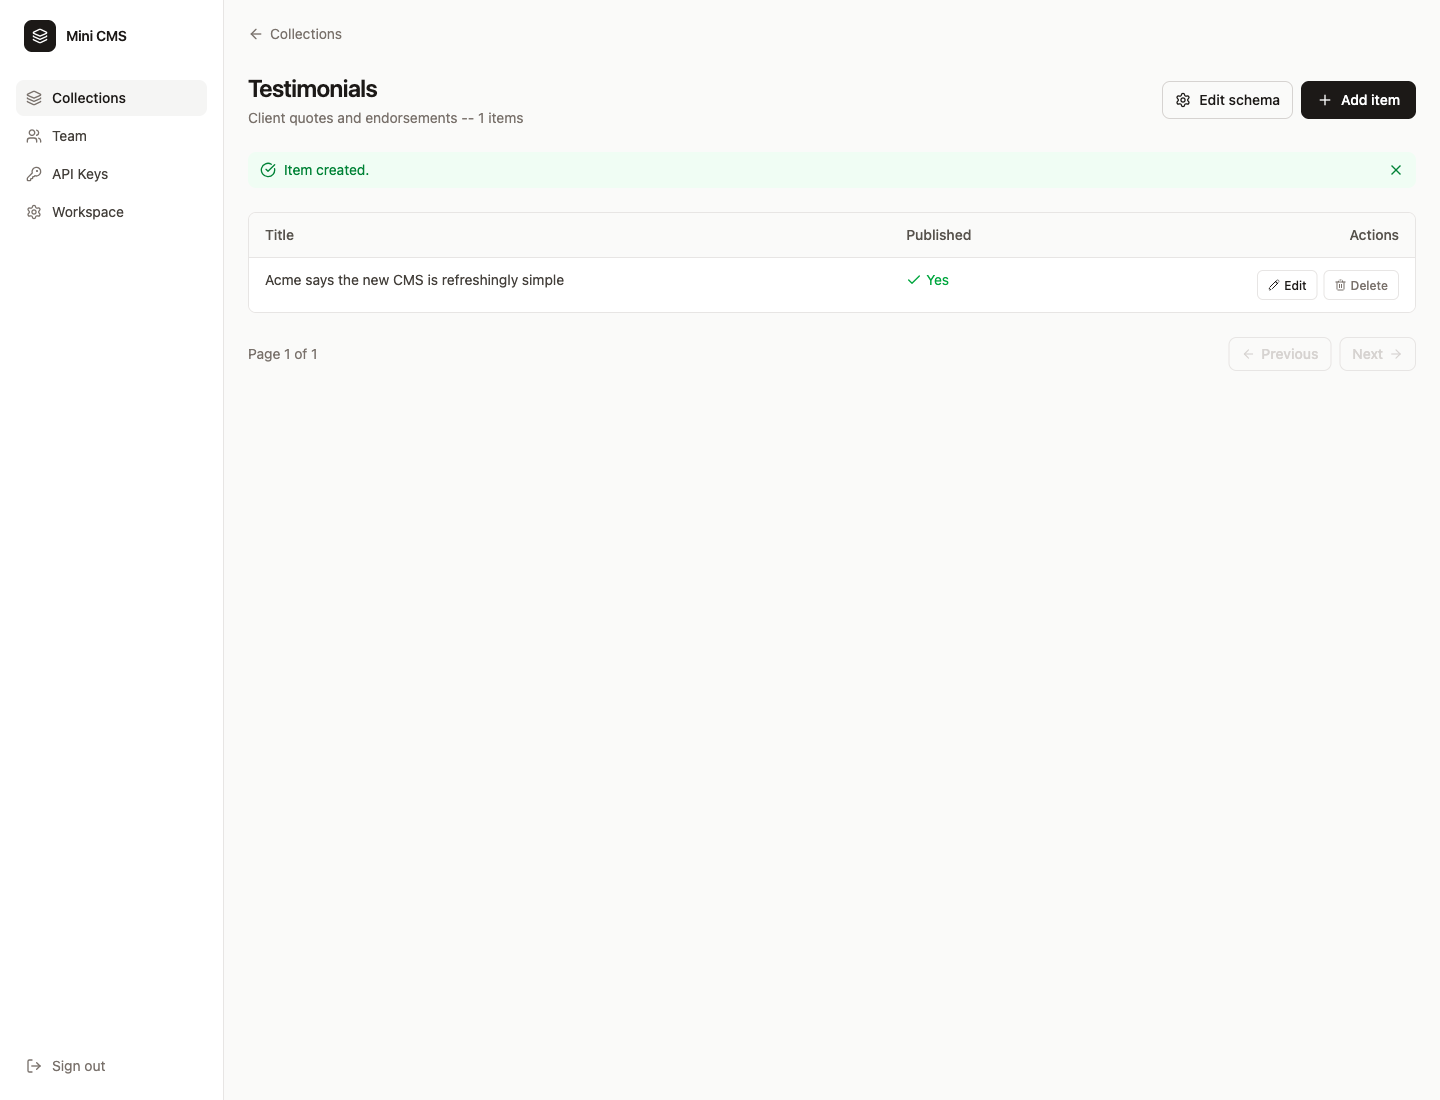
Saved item example:
Edit Schema
- Open the collection.
- Click
Edit schema. - Update fields like
text,url,number,boolean, ordate.
Keys starting with _ are reserved for system fields and cannot be used for custom fields.
Field Types
| Type | Editor | Use Case |
|---|---|---|
text | Text input | Short or long text content |
url | URL input | Links with thumbnail preview |
number | Number input | Numeric values |
boolean | Toggle | Yes/no flags |
date | Date picker | Timestamps and dates |
Publishing Items
Every item has a _published system field:
- When
true: The item appears in the public content API - When
falseor missing: The item is only visible in the dashboard
Use unpublished items for drafts or items you don't want exposed publicly.
Generate An API Key
- Open
API Keysin the sidebar. - Enter a key name.
- Optionally scope it to a single project.
- Click
Create key. - Copy the revealed key immediately.
This API key is what mini-cms uses for schema pull, push, collection listing, and protected item listing.
The public content API does not use API keys.
Manage Assets
- Open
Assetsin the dashboard sidebar. - Select the project the files should belong to.
- Click
Upload asset. - Choose an image, PDF, or video file.
- Copy the generated public URL and use it in collection items or frontend code.
Assets are project-scoped, just like collections. Supported file types are common images, PDFs, and MP4/WebM videos up to 10MB.
The Assets page also lets you:
- browse uploaded files in a visual grid
- preview image assets
- copy the public URL for any asset
- delete files that are no longer needed
API Key Scopes
- Workspace-scoped: Full access to all projects and collections
- Project-scoped: Limited to a specific project only
Invite Team Members
- Open
Teamin the sidebar. - Click
Invite member. - Enter the email address.
- Send the invite.
The invitee receives an email with a link to join your workspace. Existing users can sign in and join directly, while new users can create an account first and then continue with the invite.
In demo environments, invites are also constrained by DEMO_MAX_USERS_PER_WORKSPACE when that limit is configured.
Environment
The Environment section shows:
- Current deployment URL
- API version information
This helps developers verify their integration is pointing at the correct instance.